Both lapping and super lapping are the final processing procedures of NSK bearing steel balls, and the processing of NSK bearing steel balls higher than G40 generally requires ultra lapping procedures. The final size deviation, geometric accuracy, surface roughness, surface quality and burn of the steel ball must meet the requirements of the fine grinding or super-finishing process.
When checking the diameter deviation and geometric accuracy of the steel ball, it must be measured on the specified special instrument. The surface roughness and surface quality inspection of the workpiece after polishing is generally carried out by visual inspection under astigmatic light. If there is a dispute, it can be checked under a magnifying glass of 90 times and compared with the corresponding standard photo. For inspection of the surface quality and surface roughness of the workpiece after super-finishing, a certain number of workpieces must be selected and checked under a 90-fold magnifying glass with standard photos. When the surface roughness is in doubt visually, it can be tested on the surface roughness meter.
The burn inspection methods of intensive research and super intensive research use random sampling and sampling, and the quantity and quality standards of sampling should meet the requirements of burn standards.
The reasons for the poor surface roughness of steel balls in NSK bearings include:
1. The processing volume is too small and the processing time is too short.
2. The groove of the grinding disc is too shallow, and the contact surface between the groove and the workpiece is too small.
3. The hardness of the grinding disc is too high or uneven, and there are trachoma and pores.
4. The amount of abrasive paste added is too much, or the particle size of the abrasive is too coarse.
5. The groove of the grinding disc is too dirty, there are iron filings or other debris.
The reasons for the poor local surface roughness are:
The groove of the rotating grinding disc is too shallow, and the contact area of the workpiece is too small;
The angle of the groove of the grinding disc is too small, making the rotation of the workpiece inflexible;
The pressure applied by the upper grinding disc is too small, making Slippage occurs between the workpiece and the grinding disc.
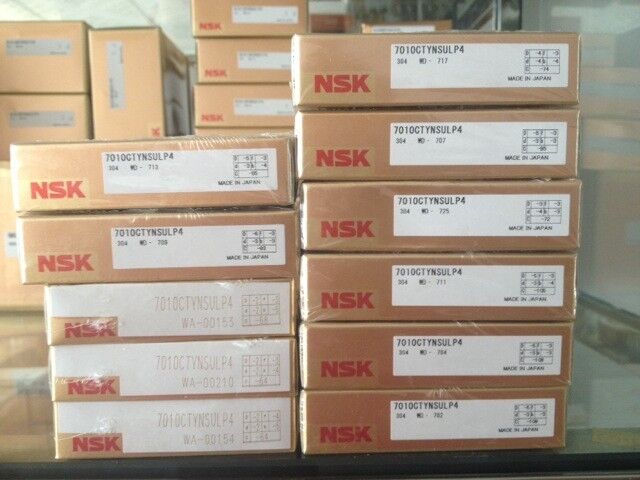
Today , ERIC BEARING LTD share NSK 7010CTYNSULP4 bearing photos , we have many NSK brand precision bearings in stock , if you need , pls contact us .

Grinding on the surface is also a kind of defect, which often occurs in cyclic processing. In severe cases, pits with a certain depth can be clearly seen under astigmatism. Only black or yellow can be seen under slight astigmatism. But under the magnifying glass of 90 times, the pits can be seen, and the lower part is rough and the scratches are staggered. The reasons are as follows: the grooves of the grinding disc are of different depths, and the workpiece stays and sometimes slips due to the low pressure in the deeper grooves, which causes the contact between the workpiece and the grinding disc to be scratched; the groove wall of the grinding disc appears to fall off Grind the workpiece.
Hot Tags: